
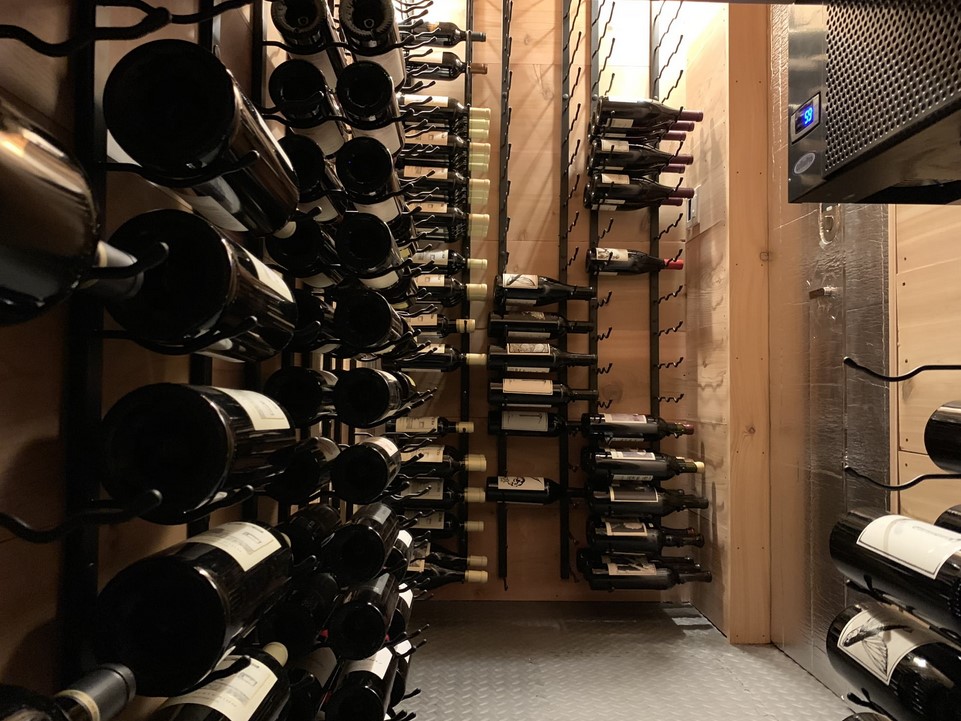
So you’ve built your dream wine cellar ! But before you start stocking those shelves with precious bottles, there’s one crucial element missing: a proper cooling system. Maintaining a consistent, cool temperature is vital for ensuring your wines age gracefully. Buy a wine cellar cooling system isn’t rocket science. With a little planning and this handy guide, you can create the perfect climate for your prized collection.
Choosing Your Cooling Champion
There are two main types of wine cellar cooling systems to consider:
- Through-the-wall systems: These are compact units perfect for smaller cellars. They simply sit inside the cellar with one side venting out a wall.
- Split systems: ideal for larger cellars, these have two separate units. The evaporator (cooling unit) resides inside the cellar, while the condenser unit sits outside, keeping noise and heat out of your cellar.
Step 1: Measure Up!
Before you shop, it’s essential to determine the size and BTUs (British Thermal Units – a measure of cooling power) needed for your specific cellar. Here’s a simple formula to get you started:
- Volume (cubic feet) of your cellar x Desired temperature difference (current temp – desired temp) = BTU requirement
Remember, this is a basic estimate. Factors like insulation and humidity levels can affect your needs. It’s always best to consult the manufacturer’s recommendations or consider getting help from a qualified HVAC professional for a more precise calculation.
Step 2: Gear Up!
Now that you know your cooling champion’s size, gather the tools you’ll need for installation. Here’s a basic checklist:
- Screwdriver set
- Drill and masonry bits (for through-the-wall systems)
- Level
- Tape measure
- Utility knife
- Safety glasses and gloves (always prioritize safety!)
Step 3: Location!
Finding the perfect spot for your cooling unit is key. Here are some tips:
- Through-the-wall systems: Choose an exterior wall with easy access for venting. Ensure there’s enough clearance around the unit for proper airflow (refer to the manual for specific measurements).
- Split systems: Position the evaporator high on a wall for optimal cool air circulation. Place the condenser unit outdoors in a well-ventilated area, ideally shaded from direct sunlight.
Step 4: Making the Cut (Through-the-Wall Systems Only)
Carefully follow the manufacturer’s instructions for creating the vent opening in your chosen wall. Ensure the opening is level and matches the unit’s dimensions perfectly.
Step 5: Mounting Time!
Securely mount the cooling unit following the manufacturer’s guide. This might involve using screws or brackets, depending on the system.
Step 6: Connecting the Dots
Now comes the connection phase. Here’s a general breakdown
Through-the-wall systems: Connect the condensate drain line (removes excess moisture) to a drain or collection container.
- Split systems: Connect the refrigerant lines (refer to these as sealed tubes carrying coolant) between the evaporator and condenser units. Caution! This might involve brazing or soldering copper pipes, a job best left to a licensed professional if you’re not comfortable with it.
Step 7: Electrical Boogie
Following the manual’s instructions, carefully connect the unit’s electrical wiring. If you’re unsure about electrical work, consult a qualified electrician for safety reasons.
Step 8: Ducted Delight (For Ducted Systems Only)
Ducted systems utilize insulated ducts to distribute cool air throughout the cellar. Following the manufacturer’s guide, install these ducts, ensuring proper connection to the evaporator and vents for air intake and exhaust.
Step 9: Testing!
With everything connected, power on your cooling system and check for proper operation. Ensure the unit cools efficiently and maintains the desired temperature. Refer to the manual for troubleshooting.
Step 10: Sit Back and Relax
Your wine cellar cooling system should now be up and running! Monitor the temperature over the next few days to ensure it remains consistent. Congratulations – you’ve created the perfect environment for your prized wines to mature gracefully!
Safety First!
While this guide empowers you to tackle the installation yourself, safety is paramount. Here are some reminders:
- Always follow the manufacturer’s instructions meticulously.
- If you’re unsure about any electrical work, consult a qualified electrician to avoid potential hazards.
- Brazing or soldering copper pipes requires specific skills and equipment. If this step makes you uncomfortable, it’s best to call in an HVAC professional for a safe and proper connection.
- When handling sharp tools like drills and utility knives, wear safety glasses and gloves to prevent injuries.
Final Thoughts
With your wine cellar cooling system humming along, you can finally fill those shelves with confidence. Now, all that’s left is to savor the fruits (or should we say, grapes?) of your labor! Enjoy those perfectly chilled bottles of wine, knowing you created the ideal environment for them to age beautifully.